
How to Fix RV AC: Troubleshooting Guide
Table of Contents
What You'll Need Before You Start
RV AC Not Cooling: Diagnose the Symptom First
Airflow Problems vs. Refrigerant Problems
RV Air Conditioner Troubleshooting: Power Supply and Electrical Checks
Checking Shore Power and Battery Voltage
When Your RV AC Breaker Keeps Tripping
Start With the Load, Not the Unit
Measured Checks You Can Do Safely
What the Trip Timing Tells You
When to Bring In a Technician
RV Air Conditioner Filter Cleaning and Coil Maintenance
Cleaning the Condenser and Evaporator Coils
Thermostat, Short Cycling, and Duct Issues
Thermostat and Control Checks
Short Cycling: What It Means
Duct Leaks, Insulation, and Heat Load
A Quick Temperature Check
When to Stop DIY and Call a Professional
Conclusion
Frequently Asked Questions
Last Updated: October 14, 2026
What You'll Need Before You Start
Learning how to fix RV AC problems starts with the right tools and safety checks. At Basin RV, we've helped RVers across the Permian Basin trace cooling problems to simple causes. Before touching anything, gather:
A digital multimeter for voltage and continuity checks
A soft-bristle brush and coil cleaner
A garden hose with a spray nozzle
Watch Out Never open the sealed refrigerant circuit yourself. Refrigerant work requires a licensed technician and special equipment. If you suspect a leak, stop and call a pro.
Work through the steps in order; diagnosing the symptom first saves hours.
RV AC Not Cooling: Diagnose the Symptom First
An RV AC that runs but won't cool usually has one of two root causes: restricted airflow or a refrigerant problem. Which one you're facing tells you whether this is a DIY job or a sealed-system issue.
Airflow Problems vs. Refrigerant Problems
Airflow issues show up as weak output at the vents: the unit runs and the fan spins, but the air feels barely cool. Refrigerant problems look different: the compressor may short cycle, the coils frost over, or the air blows warm.
Here's a quick way to tell them apart:
Symptom | Likely Cause | DIY Fix? |
Weak airflow, mildly cool air | Dirty filter or blocked ducts | Yes |
Warm air, compressor runs | Low refrigerant charge | No, call a pro |
Fan runs, no cooling at all | Power or capacitor issue | Sometimes |
Unit short cycles every few minutes | Thermostat or overheating | Often |
Breaker trips on startup | Electrical overload | Check first |
A common mistake is assuming every warm-air complaint means low refrigerant. In practice, a clogged filter causes more "not cooling" calls than anything else.
RV Air Conditioner Troubleshooting: Power Supply and Electrical Checks
RV air conditioner troubleshooting starts at the power source. A rooftop air conditioner pulls a lot of current, and weak voltage makes it run hot or shut down.
Checking Shore Power and Battery Voltage
Start at your shore power pedestal: confirm the breaker is on and the cord fully seated. Then check your battery bank; a low battery can drag down the 12-volt system that controls the thermostat.
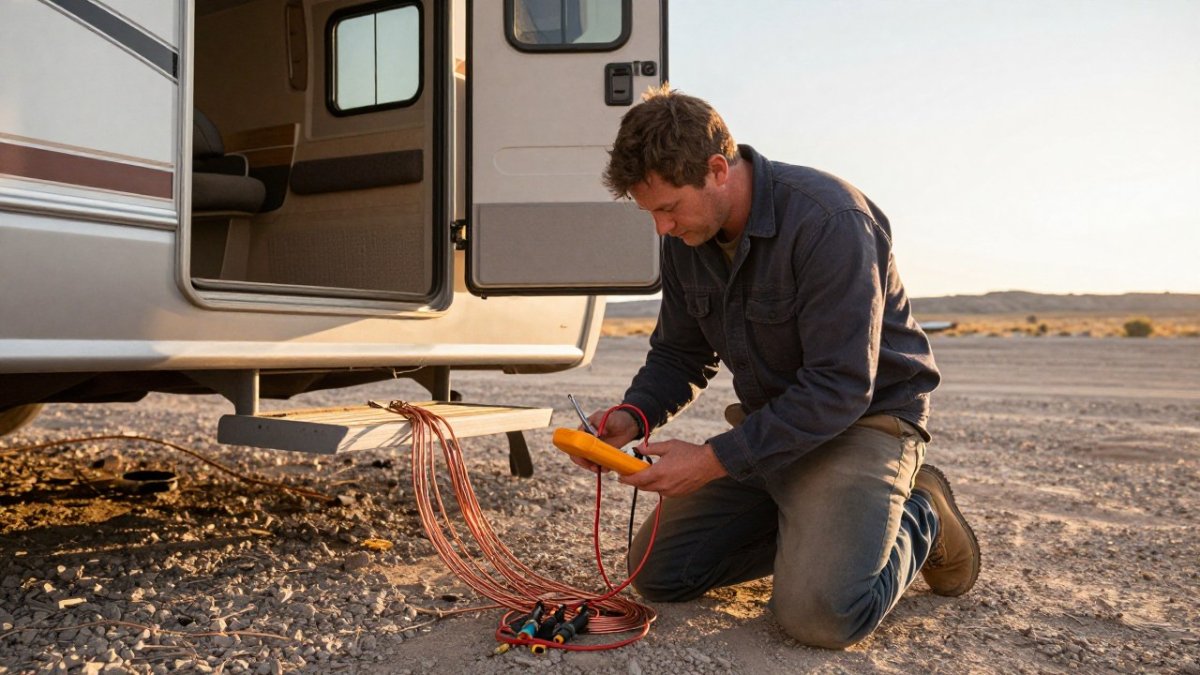
Test voltage at the pedestal with your multimeter
Inspect the shore cord for burns, cracks, or loose prongs
Check battery terminals for corrosion and tightness
If voltage reads low at the pedestal, the problem isn't your AC. Move to a different site or have the pedestal checked.
When Your RV AC Breaker Keeps Tripping
An RV AC breaker keeps tripping because the unit draws more current than the circuit allows, or a component inside is failing. Work through it in order and stop when the checks move past the breaker panel.
Start With the Load, Not the Unit
Before suspecting the air conditioner, prove the circuit isn't overloaded. Turn off every other high-draw appliance on the same leg: microwave, coffee maker, space heater, hair dryer, induction cooktop. If the breaker holds with those off and trips when you add one back, you have a load problem, not an AC problem.
If the breaker still trips with everything else off, the fault is in the AC circuit.
Measured Checks You Can Do Safely
These checks stay on the low-voltage and de-energized side. Do not probe live components.
Breaker rating. Confirm the breaker matches the rating on the unit's data label, usually on the shroud or in the owner's manual. An undersized breaker trips on normal startup surge.
Breaker condition. A breaker that is warm, discolored, or trips below its rated load is weak and should be replaced with the same rating and type.
Shore power voltage. With the AC off, measure voltage at the pedestal. Most rooftop units run on nominal 120-volt AC service, and performance drops when voltage sags under load. If the pedestal reads low with no load, the problem is upstream.
What the Trip Timing Tells You
Trip timing is a diagnostic clue:
Trips within a second or two of startup. Points to a failing start capacitor, a seized compressor, or a short in the start winding; inrush current spikes past the breaker's threshold.
Trips after several minutes of running. Points to heat buildup, a dirty condenser coil, a failing run capacitor, or an overloaded circuit; the unit draws more current as it heats up.
Trips randomly, sometimes holds for hours. Often a weak breaker or intermittent connection. Check the breaker and wiring before condemning the unit.
Watch Out Do not keep resetting a breaker that trips on startup. Each reset sends another surge through the compressor, and repeated surges can damage the windings. If it trips twice on startup, stop and diagnose. Capacitors store a charge even after power is off. Do not touch capacitor terminals or attempt to test them unless you know how to discharge them safely. If you are not trained on this, that is the line where you call a technician.
When to Bring In a Technician
Call a qualified technician with a clamp meter if:
The breaker trips on startup after you've confirmed the load and breaker rating.
You find burned wiring, a melted connector, or a scorched terminal.
The compressor hums but won't start, or trips the breaker immediately.
A technician can measure running amps, test capacitors safely, and check compressor windings, turning guesswork into a repair decision.
Pro Tip Write down the trip timing, what else was running, and the pedestal voltage before you call. That information shortens the diagnostic and often saves you a return visit.
RV Air Conditioner Filter Cleaning and Coil Maintenance
RV air conditioner filter cleaning is the single most effective maintenance task you can do, and it takes about 15 minutes.

Clean or replace foam filters every two to four weeks in heavy use: rinse in warm water, dry fully, slide back in.
Cleaning the Condenser and Evaporator Coils
The condenser and evaporator coils need attention at least once a season. The condenser sits on the roof and collects dust, pollen, and bugs; the evaporator coil sits in the air path and collects cabin dust.
To clean the condenser:
Turn off all power to the unit.
Remove the rooftop shroud.
Brush loose debris off the condenser fins.
Spray with coil cleaner and rinse gently.
Straighten bent fins with a fin comb.
Let everything dry, then reinstall the shroud.
Bent or clogged condenser fins block heat transfer; straightening them restores airflow and cooling. Clean a dirty evaporator coil the same way, but don't bend the delicate fins.
Thermostat, Short Cycling, and Duct Issues
Thermostat settings and duct problems cause more cooling complaints than most owners expect, plus a third category that gets little attention: the RV itself is losing the cooling the AC produces. Before concluding the unit is failing, separate three possibilities: the thermostat is telling the unit to do the wrong thing, the ducts are losing air, or the heat load is larger than the unit can handle.
Thermostat and Control Checks
Start with the control side, because it's free to check and easy to get wrong.
Confirm the thermostat is set to Cool, not Fan Only. In fan-only mode the compressor never runs, so the air moves but never cools.
Check the set point against ambient temperature. A set point only a degree or two below ambient can cause rapid cycling.
If your thermostat uses a remote sensor, confirm it isn't in direct sun or next to a heat source. A sensor reading 10 degrees high shuts the compressor off early and leaves the cabin warm.
Short Cycling: What It Means
Short cycling is the unit starting and stopping every few minutes. It's hard on the compressor and usually has one of four causes:
Restricted airflow. A dirty filter or crushed duct drops airflow across the evaporator, the coil gets too cold, and the unit cycles on internal protection.
Oversized unit for the space. A unit with more capacity than the cabin needs cools the air quickly, satisfies the thermostat, and shuts off before removing humidity, leaving a cold, clammy cabin and frequent starts.
Refrigerant charge issues. Low charge can cause the compressor to cycle on low-pressure protection.
If the unit short cycles and the filter is clean and ducts are clear, the next step is a technician who can check pressures and amp draw.
Duct Leaks, Insulation, and Heat Load
This is where most DIY guides stop, and where many "my AC won't cool" complaints actually live.
Insulation. RV walls and ceilings are thin compared to a house.
Heat load. Direct sun on a dark roof, an unshaded windshield, high humidity, and an undersized unit all reduce cooling capacity.
Return air path. The unit needs as much return air as it supplies.
Key Takeaway If the air coming out of the vents is cold but the cabin never gets comfortable, the AC is probably working. The problem is duct leakage, insulation, or heat load. Measure the temperature difference between the return air and the supply air before you assume the unit is failing.
A Quick Temperature Check
With the unit running steadily for at least 15 minutes, measure air temperature at the return grille and nearest supply vent. A common target is a drop of roughly 15 to 20 degrees Fahrenheit, though the exact number varies by model, ambient temperature, and humidity. A drop well below that range points to a refrigerant or airflow problem; a normal drop with a warm cabin points to ducts, insulation, or heat load.
When to Stop DIY and Call a Professional
Some RV AC problems are safe to fix yourself; others are not. Knowing the line protects your equipment and your safety.
Stop and call a pro if you find:
Any sign of refrigerant leak, like oil residue or frost on the lines
A compressor that won't start or hums without running
Burned wiring or a melted connector
Refrigerant handling is regulated, and sealed-system repairs require licensed technicians with recovery equipment. A mistake here can ruin the compressor, the most expensive part of the unit.
Key Takeaway If you've checked power, filters, coils, thermostat, and ducts and the unit still won't cool, the problem is almost certainly in the sealed system. That's a pro's job.
At Basin RV, our mobile techs handle on-site electrical diagnostics and AC repairs across the Permian Basin, so you don't have to tow your rig anywhere. We also offer Ask a Tech consultations, and our online parts store stocks filters, capacitors, and shrouds with shipping options.
Conclusion
An RV AC that won't cool is frustrating, especially parked in the heat. The good news: most problems trace back to airflow, power, or a dirty coil, all fixable with basic tools and a little patience.
When the diagnosis points to the sealed system, or you'd rather not climb on the roof in the sun, Basin RV is here.
Frequently Asked Questions
Why is my RV AC running but not cooling?
The most common causes are restricted airflow from a dirty filter, a compressor that is not engaging, low refrigerant from a sealed-system leak, or a thermostat set incorrectly. Start by checking the filter and cleaning it if clogged. Then verify the compressor kicks on when you lower the thermostat. If the fan runs but the compressor does not, you likely have an electrical or refrigerant issue that needs a technician.
Why does my RV AC breaker keep tripping?
A breaker that trips repeatedly usually points to an electrical overload. Common causes include running the AC alongside other high-draw appliances, a weak shore power connection, a failing start capacitor, or a short in the unit's wiring. Try running the AC on its own circuit first. If the breaker still trips, the compressor or capacitor may be drawing too many amps and needs professional testing.
How do I reset my RV air conditioner?
Turn the thermostat to off, then flip the AC breaker in your RV's distribution panel to off and back on. Wait about five minutes before restarting the thermostat. This lets the compressor equalize pressure and prevents short cycling. If the unit does not respond after the reset, check your shore power cord and battery connections before assuming the AC itself has failed.
How do I clean an RV air conditioner filter and coils?
Remove the return air filter from inside the RV and rinse it with warm water, letting it dry fully before reinstalling. For the rooftop unit, take off the shroud and use a soft brush or coil cleaner on the condenser fins, rinsing gently from the inside out. Straighten bent fins with a fin comb. Clean filters and coils restore airflow and cooling performance, and should be checked at least once a month during heavy use.
Book Services
Comments