
Finding Parts for Older RVs: A 2026 How-To Guide
Last Updated: October 23, 2026
Quick Summary
Finding parts for older RVs starts with the part number stamped on the broken component, not the VIN, since VINs are often ineffective on older units. Photograph the failed part, record every stamped number, and note the appliance brand, model, and approximate year. Then cross-reference interchange numbers and check salvage yards, marketplaces, and specialty shops before verifying compatibility.
Photograph the failed part from every angle before removing it and write down any stamped number.
Search each part number separately, since discontinued parts often turn up under another number.
Salvage yards are best for body and chassis pieces like fender skirts and window frames.
Specialty shops are the most reliable source for window seals, weather stripping, and trim profiles.
RV parts research groups list identification help at around $29, cheaper than guessing on a control board.
Table of Contents
Start With the Part Number, Not the VIN
How to Identify RV Replacement Parts on an Older Unit
Step 1: Read the Component Label Before You Search
Step 2: Build a Part Profile Before You Search
Step 3: Cross-Reference Interchange Numbers
Step 4: Use Visual and Community Identification When the Label Is Gone
Where to Find Vintage RV Parts: Salvage Yards, Marketplaces, and Specialty Shops
Salvage Yards and Donor Vehicles
Online Marketplaces and Classified Ads
Specialty Shops and Reproduction Sources
What to Do When an RV Part Is Discontinued
Reproduction Parts and Custom Fabrication
3D Printing and Small-Batch Manufacturing
Check Compatibility Before You Buy: Used, New, and Universal Parts
The Parts Most Often Replaced on Older RVs
Finding Parts for Older RVs: A Step-by-Step Sourcing Process
Conclusion
Frequently Asked Questions
Start With the Part Number, Not the VIN
Finding parts for older RVs starts with the number stamped on the broken component, not the VIN. At Basin RV, we tell every owner the same thing: the VIN tells you what the factory built, but the part number tells you what you actually need to replace.
Manufacturers themselves point owners this way. Shady Maple RV's parts guidance notes that VINs are often ineffective on older units, and recommends pulling the part number directly off the component or matching the model and manufacturer information instead.
On a 20- or 30-year-old trailer, build records get lost, brands change hands, and dealer VIN lookup tools stop at a certain model year. The physical part, however, keeps its label.
A simple three-step start:
Photograph the failed part from every angle before you remove it.
Write down any stamped or printed number, even a partial one.
Note the appliance brand, model, and approximate year of the RV.
That information is your search key for everything that follows.
How to Identify RV Replacement Parts on an Older Unit
Learning how to identify RV replacement parts is the highest-leverage skill in vintage sourcing. Most owners lose money not because the part is impossible to find, but because they searched under the wrong name. Here is a repeatable workflow.
Step 1: Read the Component Label Before You Search
Every appliance and fixture on an older rig carries some form of identification. Water heaters, furnaces, converters, range hoods, air conditioners, and water pumps all have data plates, though heat and moisture can fade them.
Get close with a flashlight and a rag, and look on the back, the base, and inside access panels, not just the front face.
Record four things from every plate:
Manufacturer and brand (the brand on the badge may differ from the company that made the component)
Model number (often alphanumeric, and the most important field)
Serial number (useful for dating the unit and for warranty-era parts lookups)

Step 2: Build a Part Profile Before You Search
A part number alone is not enough on an older unit, because the same component may have been revised several times across a model run. Before you open a browser, assemble a profile:
Photos from every angle, including the mounting surface and any connectors.
Physical measurements: overall dimensions, mounting hole spacing, shaft diameter, thread pitch, and connector pin count.
Electrical or gas specifications from the data plate.
The appliance model and approximate year of the RV.
That profile lets you evaluate a listing in seconds instead of guessing from a photo, and becomes the template for future repairs on the same rig.
Step 3: Cross-Reference Interchange Numbers
An interchange number is a manufacturer's cross-reference code that links one part to equivalent parts sold under different brands or part numbers. Appliance makers often used the same burner, valve, or control board across several model lines, each with its own number.
Write down every number you find, then search each one separately. A part that looks discontinued under one number frequently turns up as a current item under another, the most useful trick for discontinued RV parts.
A practical cross-reference routine:
Search the exact part number in quotes.
Search the appliance model number plus the part description (for example, "Atwood G6A-8 igniter").
Search the part number with the word "interchange" or "replaces."
Step 4: Use Visual and Community Identification When the Label Is Gone
When no number survives, identification becomes visual and social. Google Lens can match a photographed part against listings and forum posts, and posting clear photos with measurements on a vintage RV forum or brand-specific owners group frequently gets a positive identification from someone who has replaced the same component.
Treat any identification as a lead, not a verdict. Confirm it against the part profile and, where possible, a second source before you buy.
Pro Tip Photograph every data plate on your rig during your next maintenance day and store the images in a cloud folder. When a part fails at a campground with no signal, you already have the numbers you need.
Where to Find Vintage RV Parts: Salvage Yards, Marketplaces, and Specialty Shops
Vintage RV parts come from three places: salvage yards selling donor components, online marketplaces and classified ads, and specialty shops that stock or reproduce obsolete items. Each has trade-offs in price, speed, and condition, the source should follow the part type.
Salvage Yards and Donor Vehicles
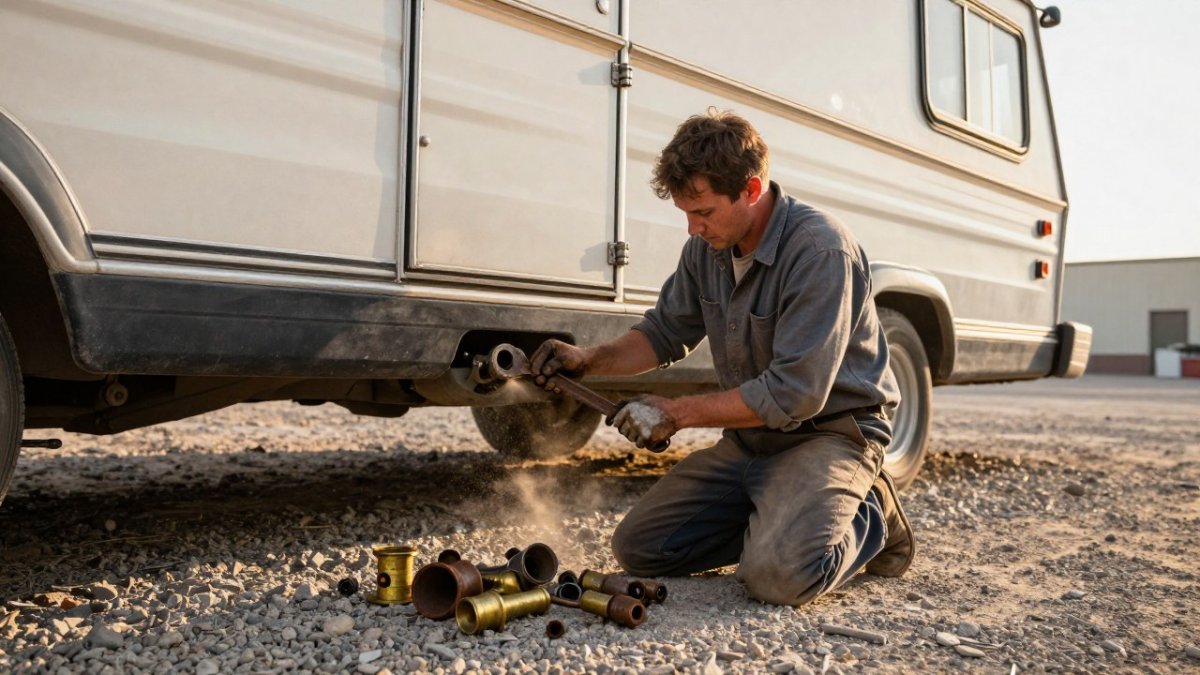
A salvage yard is the best source for body and chassis pieces nobody manufactures anymore: fender skirts, baggage doors, window frames, roof caps, and exterior trim. You get an original part that fits without modification.
There is no national, searchable inventory of vintage RV salvage, so finding the right yard takes research:
Search by region and part type. Queries like "RV salvage yard [state]" or "travel trailer salvage [region]" surface yards that do not appear in national parts databases.
Call ahead with your part number and photos. Yards rarely inventory older components in a searchable system, so a phone conversation beats a website every time.
Ask about pull-your-own versus full-service. Removing and inspecting the part yourself is the only reliable way to check for cracks, rust, and UV damage before you pay.
Confirm shipping. Many yards will crate and ship large body panels, but the cost can rival the part price, so get a quote before committing.
Inspect in person when you can. On fiberglass and plastic body parts, look for stress cracks around mounting holes and sun bleaching that signals brittle material.
Online Marketplaces and Classified Ads
Marketplaces and classified ads are where hard-to-find hardware surfaces, often from owners parting out a camper renovation. Search using the part number, the appliance model, and plain descriptive terms like "vintage travel trailer window seal."
Tactics that separate a good marketplace purchase from a bad one:
Search multiple ways. The same part may be listed under its OEM number, a generic description, or the appliance brand. Run all three.
Ask for measurements and additional photos before buying, including the mounting surface and any connectors.
Confirm the seller's return policy, because shipping a shower pan back across the country gets expensive fast.
Specialty Shops and Reproduction Sources
Specialty shops fill the gap between salvage and marketplace by stocking or reproducing common failure points on vintage units: window seals, weather stripping, interior fixtures, and trim profiles.
When contacting a specialty shop, send your part profile, not just a part number. Shops that reproduce seals and trim often match by profile shape and thickness rather than OEM number, and a clear photo with measurements speeds up the match.
Key Takeaway Match the source to the part: salvage yards for body and chassis pieces, marketplaces for one-off hardware, and specialty shops for seals, trim, and reproduced soft goods. Calling ahead with a part profile saves more time than any search filter.
What to Do When an RV Part Is Discontinued
Discontinued RV parts are not a dead end. Owners have three realistic paths: buy a reproduction part, have one fabricated, or 3D print a small component. The right choice depends on whether the part is structural, cosmetic, or a simple bracket.
Reproduction Parts and Custom Fabrication
Reproduction parts are newly made copies of OEM components, produced in small batches for restoration work. Specialty manufacturers serve the vintage trailer community with items like window seals, weather stripping, and interior fixtures.
For one-off pieces, a local machine shop can fabricate from your original as a template. Bring the old part, measurements, and photos. Expect weeks, not days, and budget accordingly, since custom work is priced per job.
3D Printing and Small-Batch Manufacturing
3D printing handles the small plastic bits that break and vanish: knob inserts, trim clips, vent louvers, and bracket covers. RV Forum discussions point owners toward visual search tools like Google Lens to identify a mystery part before modeling it.
This is where cross-referencing pays off: identify the original part's dimensions and mounting pattern, and a printed replacement often beats a universal fit. Keep printed parts away from high heat and treat them as cosmetic or light-duty, not structural.
Check Compatibility Before You Buy: Used, New, and Universal Parts
Compatibility is where most money gets wasted. A part that looks identical in a listing photo can differ in voltage, mounting depth, thread pitch, or door swing. Verify before you click buy.
Part Type | Best Source | Compatibility Risk | Watch For |
Appliances (fridge, furnace) | Reproduction or NOS | High | Voltage, gas type, vent size |
Body panels and trim | Salvage yard | Medium | Year-to-year styling changes |
Window seals and weather stripping | Specialty shop | Low | Profile shape and thickness |
Universal + adapters | Medium | Pipe diameter, fitting thread | |
Electrical components | Cross-referenced OEM | High | Amperage, connector style |
Three checks before any purchase:
Compare dimensions against your original, not just the photo
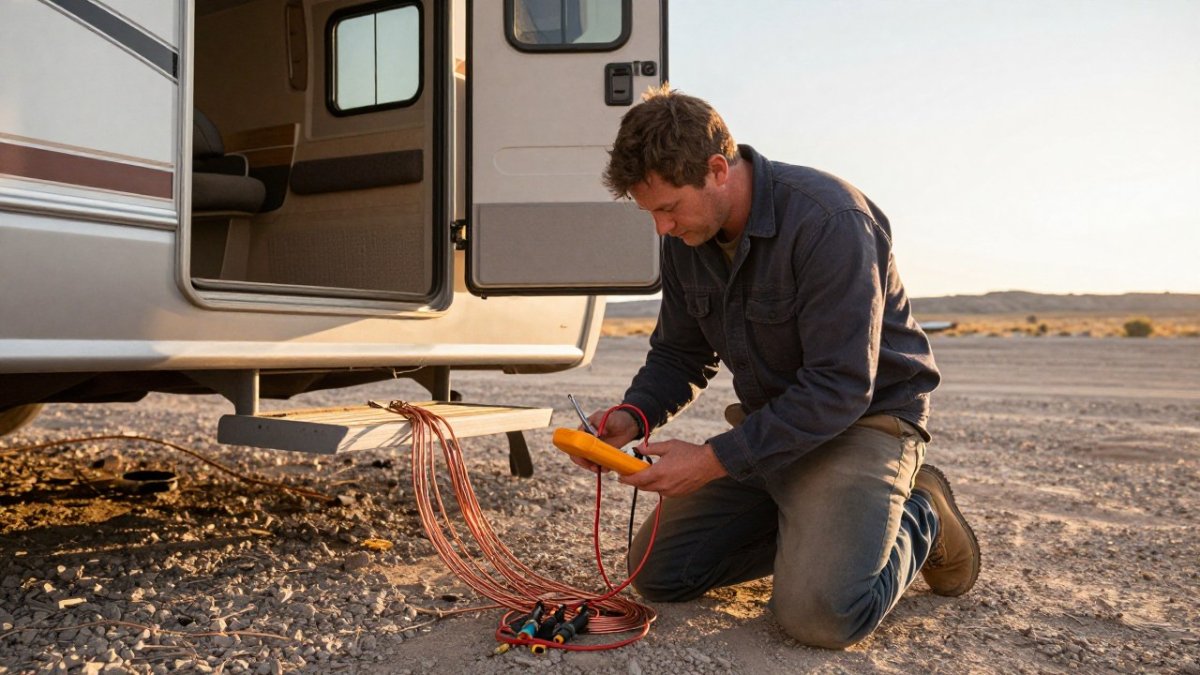
Confirm voltage and amperage on anything electrical
Ask whether the seller accepts returns on special-order items
Universal parts are fine for hoses, clamps, and simple hardware. For anything that mounts, seals, or carries current, match the original specification.
The Parts Most Often Replaced on Older RVs
Certain components fail on nearly every older unit, and knowing the shortlist helps you stock spares before a trip. At Basin RV, these come up again and again on aging coaches and trailers.
Window seals and weather stripping dry out and leak
Roof caps and vent covers crack from sun exposure
Fender skirts crack or go missing on the road
Keeping a small spares box with seals, fuses, and lamp lenses prevents a weekend trip from ending early. Camper maintenance is cheaper than camper repair.
Finding Parts for Older RVs: A Step-by-Step Sourcing Process
Finding parts for older RVs follows a repeatable process. Work the steps in order and you will rarely buy the wrong component twice.
Identify the failed part. Photograph it, record every number, and note the appliance brand and model.
Read the label. Clean the data plate and capture the full model and serial number.
Cross-reference the number. Search each number separately to find current equivalents.
Check the three sources. Call salvage yards, search marketplaces, and contact specialty shops.
Verify compatibility. Compare dimensions, voltage, and mounting before ordering.
Confirm shipping and returns. Ask about lead times and return terms on special orders.
Keep a record. Log the part number and source so the next repair is faster.
Professional research services exist for stubborn cases. RV parts research groups list identification help at around $29, which beats guessing on a $200 control board. Large online retailers carry over 20,000 RV parts and accessories, per RVupgrades.com, and many set free shipping at $99, so consolidating an order pays off.
One more reality check: some large service chains decline work on older units because sourcing parts is difficult. Independent shops and mobile technicians are usually more willing to take on a restoration project.
Watch Out Buying by photo alone is the most common and most expensive mistake in vintage parts sourcing. A control board that looks identical can carry different amperage. Always confirm the number before you pay.
Conclusion
Sourcing parts for an aging rig takes patience, but the process is learnable: read the label, cross-reference the number, and verify compatibility before you buy. When a repair is beyond a DIY fix, Basin RV offers mobile service that comes to your RV, up-front pricing before any work begins, and a 90-day workmanship warranty on installations. Our Ask a Tech consultations are built for owners who want to learn rather than hand over the whole job, and our online parts store ships many components.
Frequently Asked Questions
Where can I find parts for an older or vintage RV?
Start with the part number stamped on the component itself, then search that number across RV salvage yards, online marketplaces, and specialty vintage RV parts dealers. Salvage yards that hold donor vehicles are the best source for body panels, fender skirts, roof caps, and exterior trim that no one makes anymore. For mechanical items, cross-reference the manufacturer's interchange list. If the part number turns up nothing, consider a professional research service, and confirm shipping costs before you commit.
How do I identify the right replacement part for my RV?
Read the label on the failed component first. It usually carries a manufacturer name, model number, and serial number. Photograph the label and the part from several angles, then use a visual search tool such as Google Lens to match the shape against online listings. Cross-reference any interchange numbers you find, because one water pump or furnace control board is often sold under several part numbers. Write down the year, make, and model of the RV as a backup, but do not rely on the VIN alone for older units.
What should I do if an RV part is discontinued?
Work through four options in order. First, search salvage yards and online classifieds for a used original. Second, look for a reproduction part from a specialty manufacturer that serves the vintage travel trailer market. Third, check whether a current aftermarket component is a compatible substitute, which is common for plumbing retrofits and electrical system upgrades. Fourth, have the part fabricated, either by a local machine shop or through 3D printing for plastic pieces such as bezels, knobs, and vent covers.
Can I use universal parts on an older RV?
Sometimes, but check the specifications first. Universal parts work well for items where fit is flexible, such as window seals, weather stripping, LED lighting, and some plumbing fittings. They cause problems when mounting holes, voltage, amperage, or physical dimensions are fixed, which is common with roof caps, baggage doors, shower pans, and appliance control boards. Measure the original part, compare the spec sheet line by line, and test-fit before you seal or wire anything permanently.
Book Services
Add basinrv.com as a preferred source on Google →
Comments