
.jpg)

RV Plumbing Repair Guide for Leaks and Clogs
- basinrvserv3
- Jul 19
- 6 min read
A wet cabinet floor, a toilet that will not hold water, or a pump that keeps cycling can turn a good trip into a fast repair job. This RV plumbing repair guide helps you narrow down the problem before it damages flooring, cabinets, or electrical equipment. Start with the basics, work safely, and do not keep running water through a system that is already leaking.
RV plumbing is compact, but it is not simple. Fresh water lines run under pressure, while sink and shower drains depend on gravity and venting. Your toilet, gray tank, black tank, water pump, city-water inlet, water heater, and fittings all need to work together. The right repair depends on which side of the system has failed.
RV Plumbing Repair Guide: Start With the Right System
Before taking anything apart, determine whether the issue involves fresh water, wastewater, or a fixture. Turn off the water pump when you are not actively testing a leak. If you are connected to city water, disconnect the hose or shut off the campground spigot. This removes pressure from the lines and keeps a small drip from becoming a flooded compartment.
Fresh-water problems usually show up as water under cabinets, a pump that runs when every faucet is closed, low pressure, or a leak near the city-water connection. Wastewater problems are more likely to cause slow drains, bad odors, water backing up into the shower, or leaks around the toilet and drain traps.
Use a flashlight and dry paper towels to locate moisture. Check around fittings, under sinks, behind the toilet, near the water pump, and at the water heater access area. A paper towel will often reveal a slow drip that is hard to see on a white plastic fitting.
Gather Basic Tools Before You Start
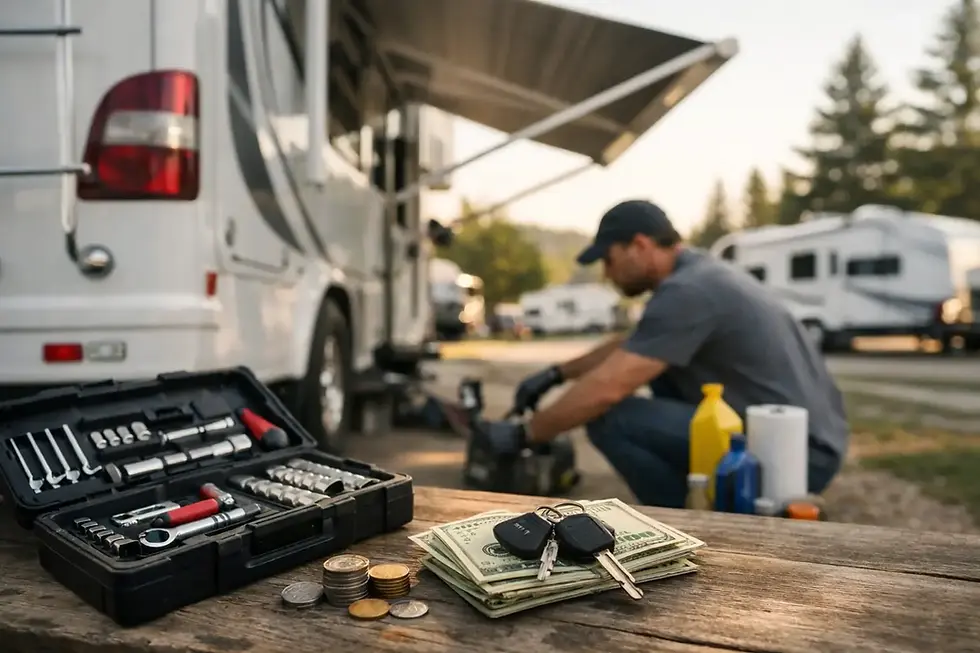
Most minor RV plumbing work does not require a full shop, but the wrong tool can crack a fitting or strip a clamp. Keep an adjustable wrench, screwdrivers, slip-joint pliers, a flashlight, absorbent towels, a small bucket, and work gloves in the RV. A non-contact thermometer can also help identify a water heater issue without touching hot components.
For repairs, match the part to the plumbing already in your rig. RVs may use PEX tubing with crimp or push-to-connect fittings, flexible vinyl lines, threaded plastic fittings, or a combination of all three. Do not force a household plumbing fitting onto an RV line because it looks close. Different thread types and fitting sizes are a common cause of repeat leaks.
When replacing a hose, valve, toilet seal, or water-pump fitting, bring the old part or clear photos of its connection points. It saves time and helps avoid buying a part that is almost right.
Finding and Fixing Fresh-Water Leaks
A water pump that cycles every few minutes with no faucet open is one of the clearest signs of a pressure-side leak. First, make sure the fresh tank has water and the pump strainer is seated correctly. Then inspect the pump, its inlet and outlet fittings, and nearby lines for dampness.
If the pump area is dry, check each faucet, the outside shower, the toilet valve, and the city-water inlet. The outside shower is easy to overlook. A partially open hot or cold handle can allow water to cross between lines and cause strange pressure behavior inside the RV.
Small leaks at threaded fittings may be caused by a loose connection, but do not overtighten plastic fittings. Snug is usually enough. If a fitting is cracked, replace it. Tape, glue, and sealant might slow a drip for a day, but they rarely hold under water pressure and can make the proper repair harder later.
City-Water Connection Problems
Water leaking from the city-water inlet often points to a failed internal check valve or damaged inlet assembly. If water comes out only while hooked to city water, inspect the inlet and hose washer first. If the inlet leaks when running from the onboard pump, the check valve may be allowing water to travel backward.
Turn off the pump and city water before removing the inlet. Have towels ready because trapped water will drain from the line. This is usually a straightforward replacement, but access behind the inlet can be tight. If you cannot reach the connection without pulling panels or stressing the water line, a mobile RV technician can prevent a simple repair from becoming a broken fitting behind a wall.
Low Pressure or No Water From the Pump
Low flow from every faucet can mean a clogged pump strainer, low battery voltage, a restricted line, or a failing pump. Clean the strainer first and verify the pump has a solid power connection. If only one faucet has weak flow, remove and clean its aerator or showerhead.
A pump that runs but will not build pressure may have an air leak on the suction side, a damaged diaphragm, or an empty tank. Do not run it dry for long. That can damage the pump and leave you with a larger repair.
Repairing Drains, Traps, and Slow Sinks
RV drain systems are lighter and more compact than house plumbing, so they can shift during travel. A leak under a sink may come from a loose slip nut, a worn washer, or a cracked P-trap. Place a bucket underneath, loosen the connections by hand, inspect the washers, and reassemble the trap without cross-threading it.
For a slow sink or shower, avoid harsh drain chemicals. They can damage seals and plastic pipes, and they do not solve a blockage farther down the line. Remove hair and debris from the drain opening, clean the trap if accessible, and use a small hand snake carefully. If multiple fixtures are draining slowly, the problem may be at the gray-tank valve, vent, or outlet rather than the fixture itself.
A shower that backs up when the kitchen sink drains can also mean the gray tank is full. Check the tank level, then dump at an approved station before assuming there is a clog.
Toilet Leaks and Black-Tank Problems
A toilet that does not hold water in the bowl usually needs a new blade seal or a thorough cleaning around the seal. Turn off the water pump, flush the toilet, and inspect the bowl for debris or mineral buildup near the blade. Use products made for RV toilets and seals. Household cleaners and petroleum-based lubricants can damage rubber components.
Water leaking at the back of the toilet may come from the water valve or supply line. Water at the base could be a loose mounting connection, a failed floor seal, or a crack in the toilet body. Do not ignore a base leak. Wastewater can damage subflooring quickly, and the source is not always visible from above.
Black-tank odors are not always a tank failure. A dry toilet bowl, dried-out sink or shower trap, an open roof vent issue, or poor tank rinsing can all contribute. Keep water in the toilet bowl when parked, run water into unused drains, and use enough water when flushing. Black tanks work better with water than with overly aggressive chemicals.
Protect RV Plumbing in West Texas
West Texas heat can put extra stress on hoses, seals, and exposed fittings. Check sewer hoses for soft spots, cracks, and worn bayonet ends before every trip. Store hoses out of direct sun when possible, and do not leave your fresh-water hose pressurized unattended for long periods.
Freezing nights still happen. If temperatures are expected to stay near or below freezing, disconnect the city-water hose, drain exposed lines, and use the RV's winterizing procedure when needed. Heat tape and small compartment heaters can help in some setups, but they must be used carefully and never near flammable materials or standing water.
Know When to Call for RV Plumbing Repair
Some jobs are well suited to an owner with basic tools. Replacing a faucet aerator, tightening a drain fitting, cleaning a pump strainer, or changing a visible toilet valve can be reasonable do-it-yourself work. The trade-off is access. RV plumbing often runs behind walls, under floors, and alongside wiring, so a minor leak can require more disassembly than expected.
Call for professional help when you have a hidden leak, a cracked tank, repeated pump cycling you cannot locate, sewage leaking at the toilet base, water near electrical components, or a water heater connection problem. Shut off the water source first, then document where you found the leak. Clear information helps speed up the repair and keeps pricing straightforward.
For Odessa-area owners who need service at their site or on the road, Basin RV can help with practical plumbing repairs, maintenance, and replacement parts. A quick inspection is often cheaper than replacing water-damaged flooring, cabinets, or wiring after a small leak has had time to spread.
Your best plumbing tool is not a wrench. It is the habit of checking under sinks, around the toilet, and inside service compartments before a small problem gets a full day to grow.


Comments